First Run
After installation, this setup gets LinguaX working in a few minutes without over-configuring.
The first-run flow at a glance
The next five sections walk each step in detail.
Step 1: Launch
- Open LinguaX from Applications.
- Confirm the menu bar icon is visible.


Step 2: Grant permissions
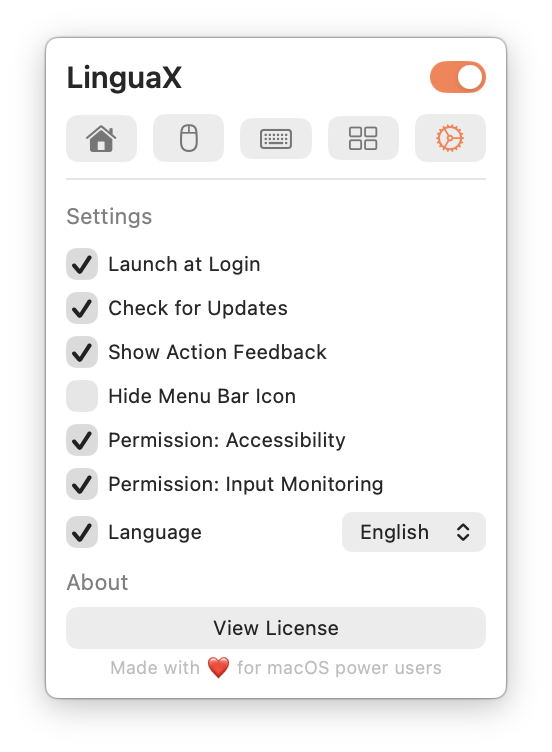
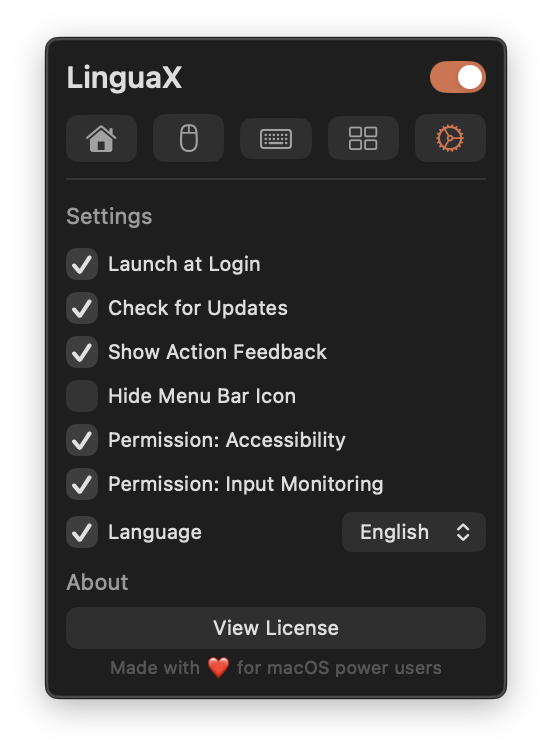
- Open LinguaX Settings and tick Permission: Accessibility and Permission: Input Monitoring.
- macOS opens the matching System Settings pane automatically — toggle LinguaX on there.
- Return to LinguaX; both rows stay checked.
Permissions are required for reliable app/domain detection and automation.
Step 3: Start with one Mouse+ win
- Enable smooth scrolling.
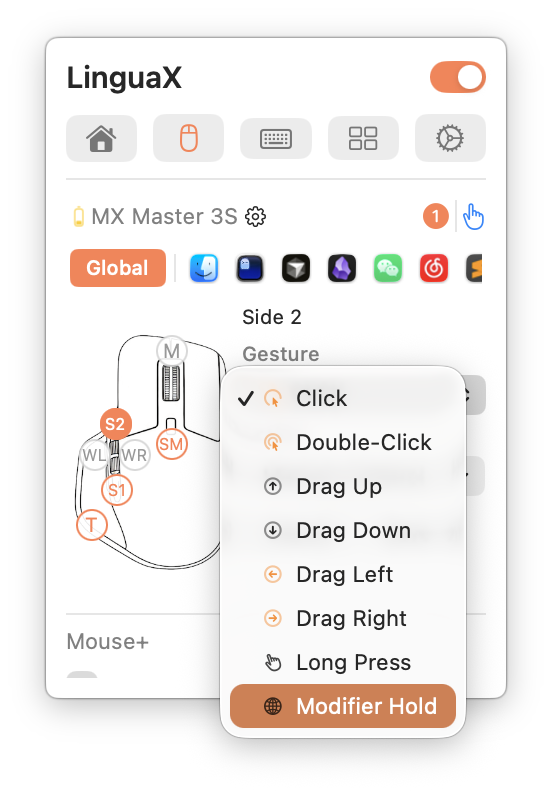
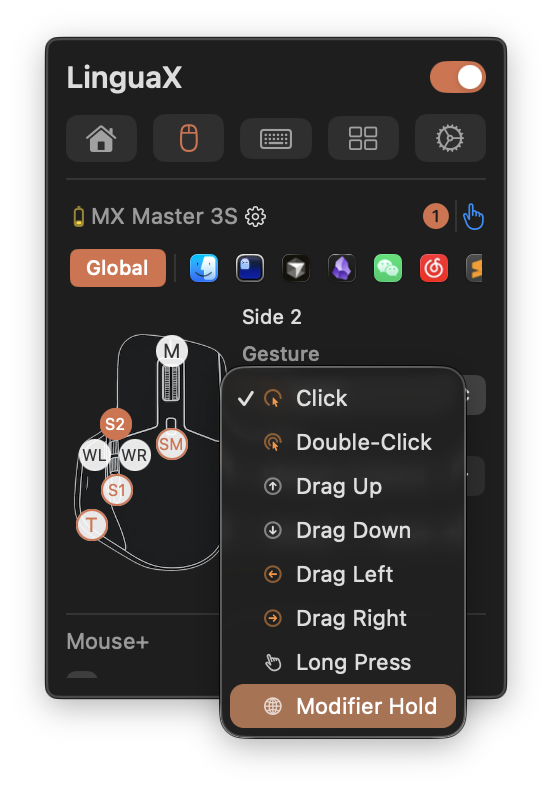
- Map one mouse action you will actually use.
- Confirm pointer and scrolling feel stable in your main app.
Step 4: Verify
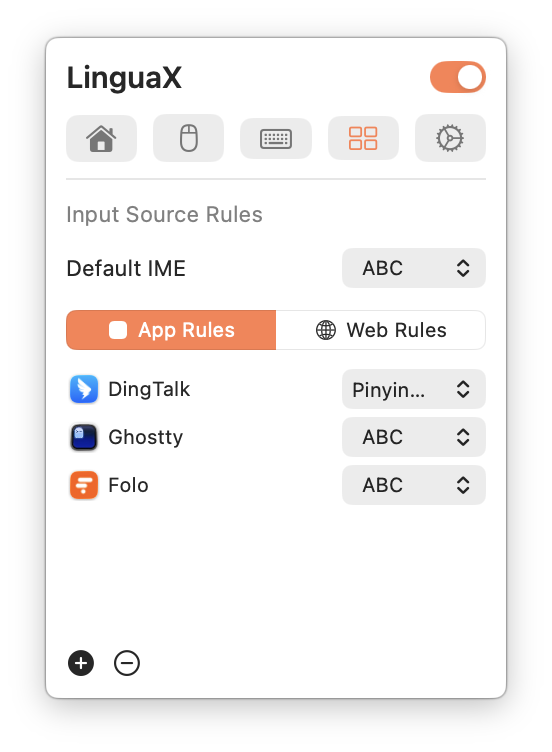
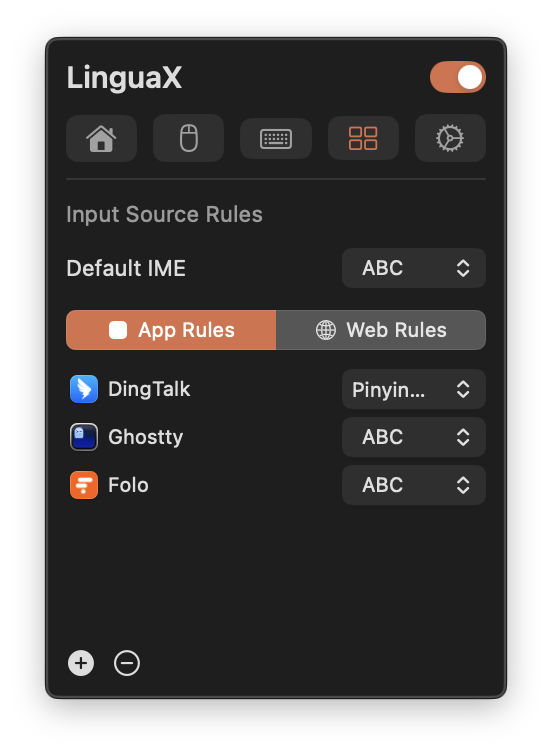
- Add one app rule for your main editor.
- Add one browser domain rule.
- Switch between contexts and confirm input behavior is correct.
Step 5: Optional feature checks
- Add a second mouse mapping if helpful.
- If using script actions, run one template and approve Automation permission prompts when shown.